Purge of Paid Invoices
The Town Settings Fiscal Year tab allows you to manually Purge Paid Invoice from your current year database to your prior year database. Invoices, receipts, and transactions are created in your current database through the normal processes of being a Tax Collector — importing warrants, creating supplements, posting receipts, and processing abatements. Over time, if you choose to never purge your paid invoices, not only will the tree view lists grow and become cumbersome to navigate, but the added data will cause your system to run slower when generating reports and creating deposits.
What and when you should you purge depends on your preference and what you purge will often times dictate when you purge. Some collectors will purge all paid invoices up to the prior fiscal year (e.g. in FY 2024 they purge up to 2023). If this is your preference, you probably want to wait until after you have imported your first issue property tax bills; that way you always have at least one invoice for each parcel in the current year data. Other collectors will purge all paid invoices up to the year for which they have executed their deeds (e.g. in FY 2024 they purge up to 2021). If this is your preference, the time of year at which you purge is less important.
Before you begin the purge process, you should create a backup of your current data (see Backup Database). The backup is extremely important — if something happens to interrupt the process we will need to use the backup to restore your data. Also, make sure all other users are out of Tax Collect and you have printed a Collection YTD report. You can use this report to validate your balances did not change once the purge process is complete.
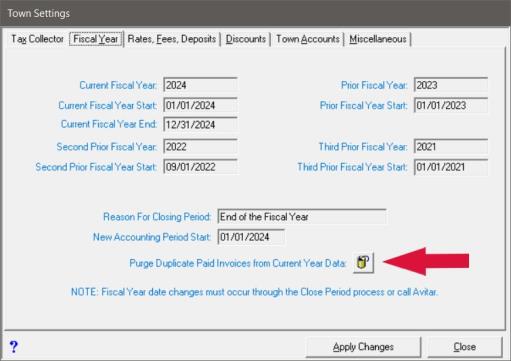
To Purge Paid Invoices choose Utilities | Town Settings and select the Fiscal Year Tab. Click on the Purge Duplicate Paid Invoices from Current Year Data button.
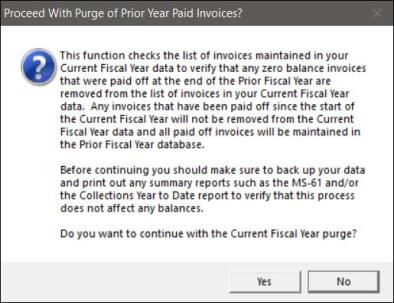
The Proceed with Purge of Prior Year Paid Invoices dialog box displays. After reading the message, select Yes to continue with the purge.
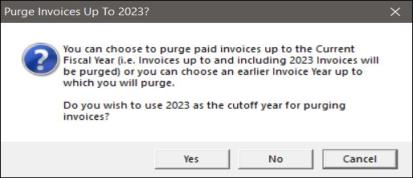
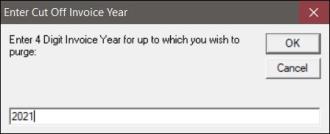
The next dialog box that displays allows you to choose a fiscal year up to which the data should be purged. The system defaults to your last fiscal year, which you can accept by selecting Yes, or No to enter a new year. After making your selection, the system will begin the process of the purge.